Showing posts with label tutorial. Show all posts

Wednesday, May 15, 2013

Things for Baby Boys (A Virtual Baby Shower) - Nappy bag

Do you know the lovely Abby from Things for Boys? Her second little boy is due soon, and a group of her online buddies are throwing her a virtual baby shower. Laura from Craftstorming had the idea  that we each made something for Abby, Ros from Sew Delicious delivered them to her and then we each posted a tutorial for our project on our blogs. Fab idea, huh?!  Here's what we made:
 
 
1: Baby Change Mats by Ros from Sew Delicious
2: Flat Teddy by Narelle from Cook Clean Craft
3: Handmade Baby Boy Shoes by Janelle from Emmaline Bags
4: Baby Hats by Jenny from Mend and Make New
5: Upcycled Cashmere Baby Pants by Dara from Coffee and Lilacs
6: Nappy/baby bag by Jo from bubala
7: Little Kid Kimono Set by Laura at Craftstorming
 
 
I decided to make Abby a nappy bag. As I've mentioned before here I feel pretty well qualified to say  I know what makes a good one as I have made so many both for myself and for gifts over the past 5 years or so!

 
I chose a blue/grey striped fabric from Ikea for Abby's bag, then personalised it by screen printing on a bit of colour. As I thought the fabric had a slightly nautical look I decided on some yellow triangles, which would be on trend and also reminiscent of the nautical theme. The inside lining is a nice clean white - there's nothing worse than not being able to find things in a dark coloured lining!
 
 
For me an adjustable strap (to wear over the shoulder or across the body messenger style) is essential in a nappy bag, as are plenty of internal pockets, and specifically pockets for pens, phone, nappies and wipes. The bag needs to be large enough to stuff a heap of baby things in but not so big as to be cumbersome. And for me it shouldn't look too baby-ish... you generally don't want to be dragging blue teddy bears around town, even if you do have one inside!
 
I hope Abby likes it and gets lots of use from it! If you'd like to make one of your own the tutorial is after the jump.

Thursday, July 12, 2012

TUTORIAL: Felt owl zip purse

Finally as promised here is a tutorial for the little owl purse I designed and made for my daughter's birthday a few months ago, seen here. It's a great little project for a gift or just for your little one, it uses up small pieces of felt and ribbon, and is fun to make. It makes a great little change purse or ear bud holder. My kids like to clip them onto their jackets or pockets when we go out.

Below is the tutorial and a link to a pdf pattern. Please do let me know if you try it out (and also if I've made any mistakes - I'm new to writing tutorials!).


You will need:
Felt: I'd recommend using a thick wool or wool blend felt as it's lovely to work with and durable. I used a beige colour for the body and feet, then a darker colour for the mask and bright feature colours for the crest.
Clip: I've used a swivel clip with a ring at one end, found it stationery stores. This clip allows you to attach the purse to a bag, backpack, school bag, pocket or anything you like. If you don't want to use a clip you could also use a split ring or just the loop of ribbon (see next note) if you prefer.
Ribbon: You will need a length of ribbon about 20cm (8") long in complimentary colour to the body felt, for the wings, and also a small piece of ribbon to loop through the clip - I used a different ribbon but you could use the same as the wing ribbon, about 5cm (2") long. 
Thread: I used a top stitching thread for the stitching as it's thicker and acts as a design feature, but ordinary thread would also work fine.

You could experiment with the colours of your felt, thread and ribbon or stick to the colour scheme here.


Step 1: Cut out all pieces of felt using pattern pieces from pdf attached. Take the front body piece and pin on the mask, beak and crest pieces, as shown below. The crest pieces should sit directly on top of each other, aligning at the top (straight) edge.
Step 2: Machine sew first around the mask and beak, sewing close to the edge. Then sew a straight line through the top of the crest, making sure all 3 pieces are caught in the process. Remember to back stitch to secure the ends.
Step 3: Create eyes for the owl - either embroider with embroidery floss (as shown in first picture above) or sew on buttons. You could also use a fabric pen to draw them on. See the end of the tutorial for ideas on sleepy/awake eyes*.

Step 4: Cut out rectangular opening on back body piece as marked on the pattern. Pin the zip into place as shown and sew right around the edge of the rectangle, just inside. Go slowly when you are going over the zipper, especially if you are using a metal one, so that it doesn't jar your machine.

Cut the excess off the zipper. Don't use your best sewing scissors as the zipper teeth will blunt the blades.
Step 5: Place the back body piece on your table so that the inside is facing up (as shown below). Put the feature ribbon through the ring of the clip, as shown, and pin it to the top of the body, where shown below. Now take your ribbon for the wings and cut it in half (each will be about 10cm (4") long). Loop it so that the ends come together as shown and pin them to the sides of the body. Then lastly take the felt feet and pin those to the base of the body.
Place the front body piece on top, creating a sandwich. Pin this together all around the body then sew all the way around, making sure you catch in all the elements (clip ribbon, both wings and both feet). You don't need to finish any of the edges in any way as felt doesn't fray - yay!
Trim off any excess felt around the edges of the body to neaten it and voila, you are done!


- - - - -
* The owl looks cute either awake or asleep, or even winking (one open one closed). Try using buttons or beads for open eyes.


And hey, it's Thursday! There is creativity galore awaiting you over here at My Creative Space.

Tuesday, January 17, 2012

Polymer clay beaded necklace tutorial


Late last year I suddenly got the urge to play around with polymer clay to make a few necklaces, one for my niece, one for my neighbour and of course several for myself ;-)

I really liked how they turned out and found it was a fun and quick craft activity (with something wearable at the end - yay!), so I thought you might like to try it too. It's pretty simple but I thought a tutorial might be nice all the same, you might find my tips useful. Let me know if you try it. I hope you enjoy it!


- - - Polymer clay beaded necklace tutorial - - -


What you'll need

• Polymer clay in 2/3 different colors There are a few different brands of around. I chose Fimo because I'd heard about it but most importantly I liked the colors in the range. It can be bought at art and craft stores.

• Cording I use a lovely hemp string that I bought in a bead shop. It comes in a range of lovely neutral colours that won't compete for attention with your beads and has a lovely natural feel. Its comfortable to wear on your neck as long as there's not too much weight in the beads. You could also use cotton or leather cord, just remember to make sure it's not too thick.

• Large needle Something thick like an embroidery needle makes a good implement for putting a hole through the beads for threading. A thin skewer or even a toothpick would also work.

• Oven tray, baking paper and oven Polymer clay needs to be heated in a warm oven in order to harden it.

• Wooden button To use as decoration. I found mine a few years ago at a handmade market, but you may be able to buy them on Etsy. Otherwise a large beautiful vintage button would also work well. I think a button is a nice touch but you can leave it out if you prefer.

Making the beads


Cutting your clay
Cut or break off a piece of the clay. I found cutting a square about the height 2 ridges made a good sized bead.


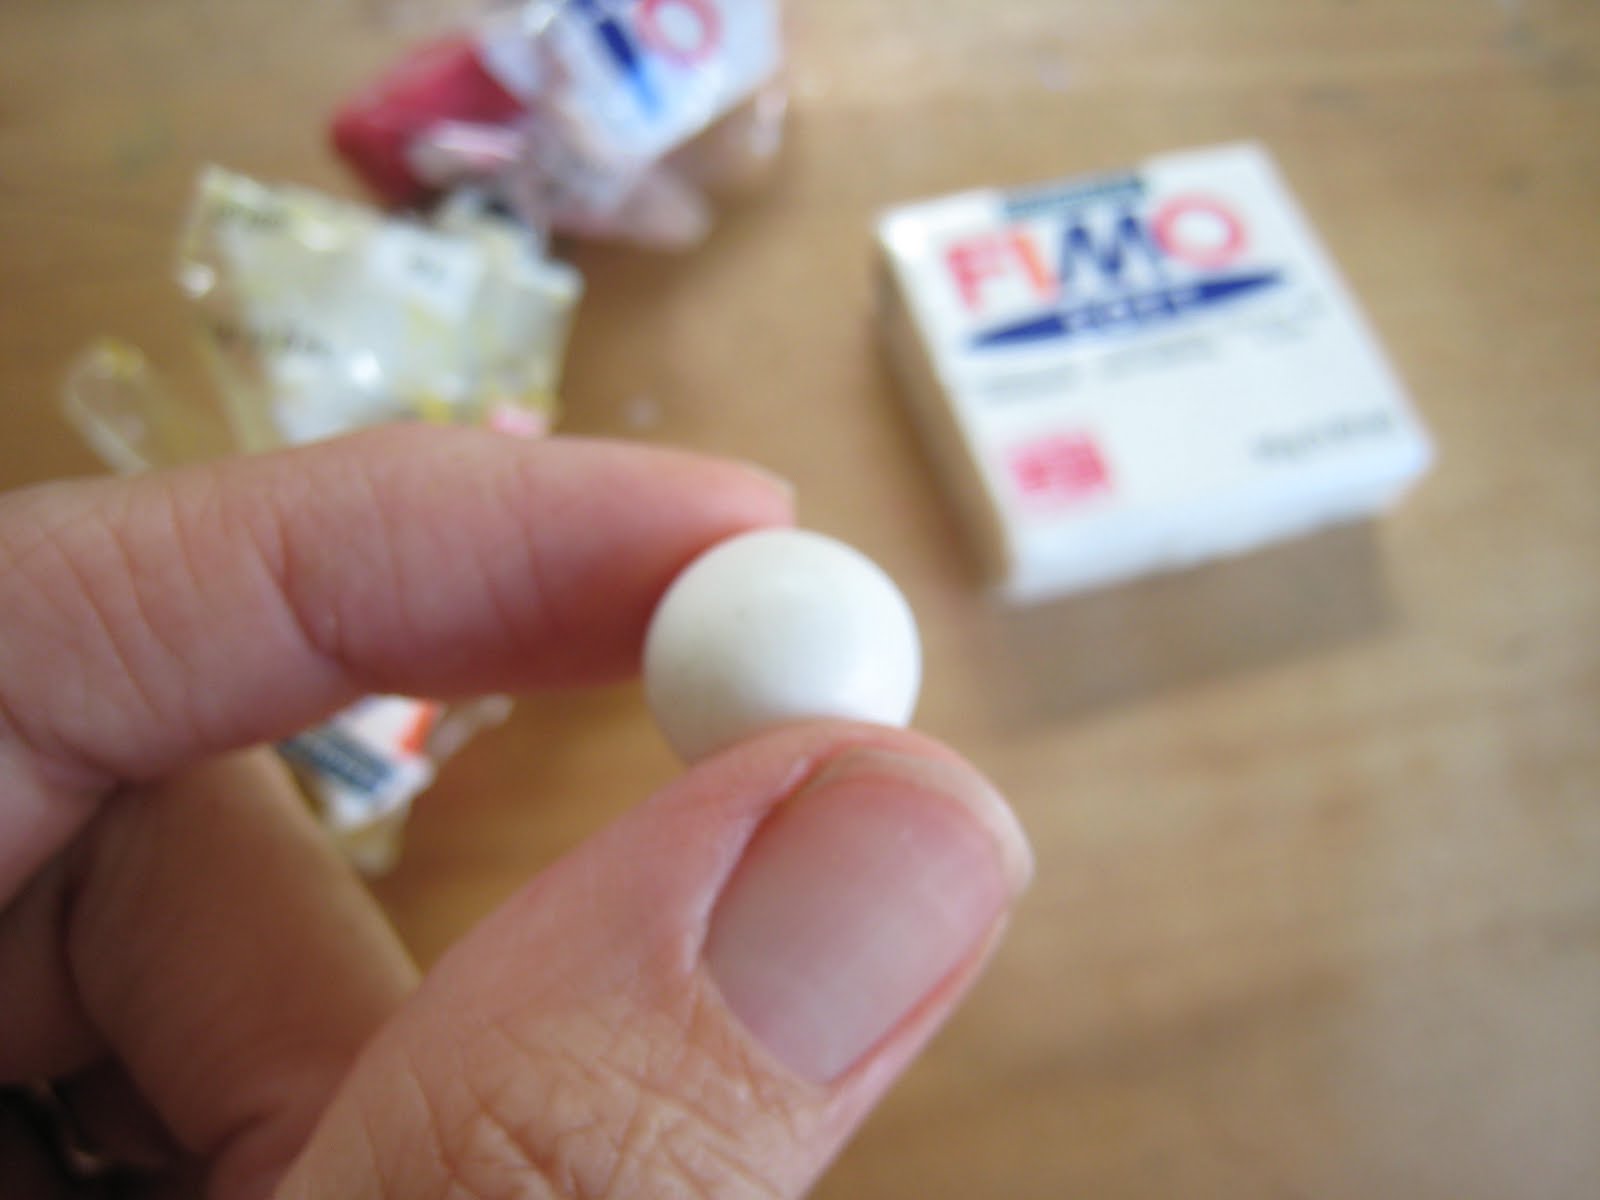
Rolling a ball
Squash your chunk lightly into a rough ball shape then roll it lightly in your palms to create a ball. Try to do this without over handling the clay. I find that while the clay can be worked quite a lot, the more I play with and touch it the more dirt and grit it picks up, and that's not the look you want for your necklace - while charmingly wonky balls might be cute, dirt and dust are not so nice looking.


Making a hole for the cording
Then take your needle and lightly push and twist it into the ball horizontally towards the other side. You're looking to create the hole without pushing the ball out of shape.


The finished hole should look neat at each end if possible. At this stage you'll need to think about how thick your string is. If your needle isn't thicker than your string (you don't want to end up with beads you can't thread) move your needle around inside the hole to widen the hole slightly. This sounds a bit clunky but it works really well.

* you can also make little discs if you like, as you can see on the pics of the finished necklace. Make a ball slightly smaller than the other/s then flatten it between your finger and thumb until it has a similar circumference to your ball. Make the hole in the same way, taking care not to squash the disc out of shape.


Bake the beads
Make the rest of your beads. I like to use about 5 - 10 for a nice balance and so that it hangs nicely. You can always make more than you think you'll need and try out different combinations once they've been baked.

When you have all of your beads ready, place them on a baking sheet lined with baking paper and bake them in the oven following the directions on the clay pack. Mine cooks at 110c (230f) for 30 minutes. Leave until completely cool. After they're baked the beads are quite durable and seem to be water proof.


Stringing
When your beads are cool cut a piece of your cording about 90cm (35") long and thread on your beads and wooden button.


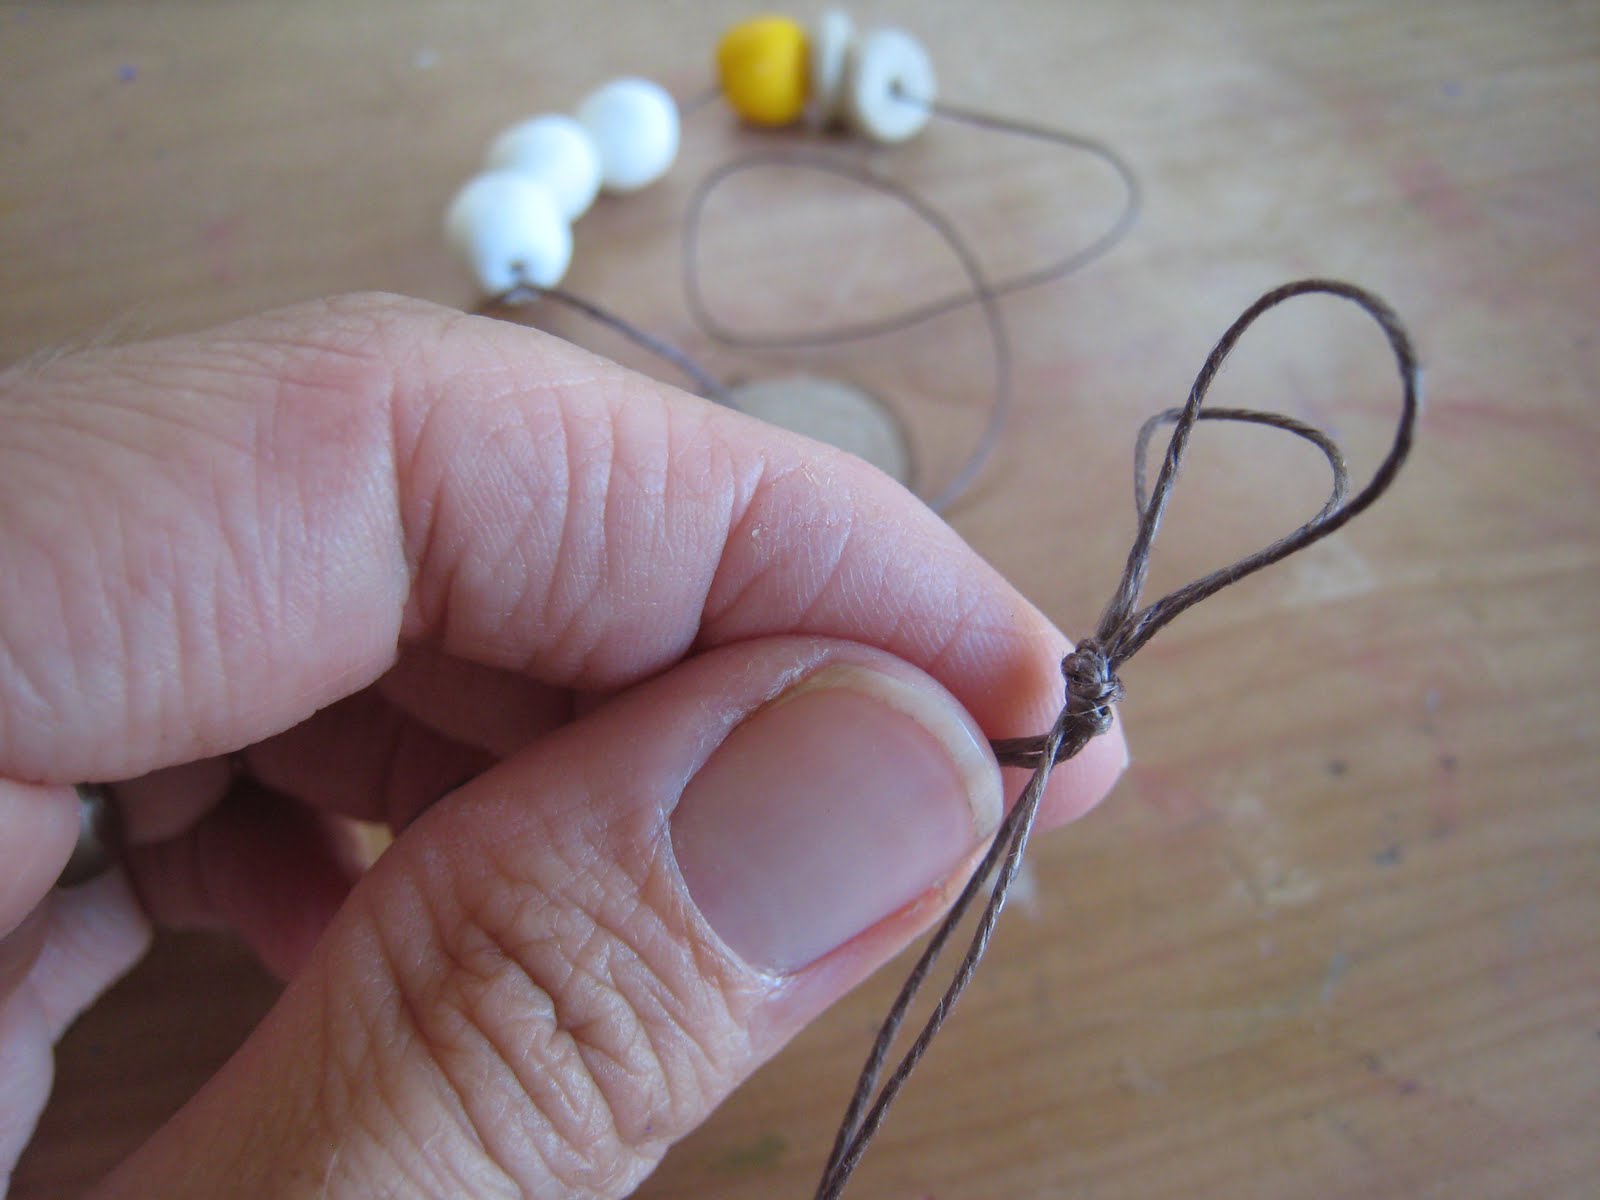
Tie a slip knot in the end of the string. This makes it easy to undo if you want to change the combination of beads at any time, though it does put a bit of stress on the string each time, so I try to not undo the knot too often. Better to just make a few more necklaces in different colors ;-)


You can wear your necklace with the wooden button next to the beads or alternatively at the back of your neck, letting the beads sit freely.

You're done! Enjoy wearing your new creation.


Related Posts with Thumbnails