Monday, November 15, 2010

Weekend craftiness

The weekend's just been.. lets not talk about the chaotic house, ignored housework, the sibling arguments and tantrums, that's no fun. Let's talk weekend crafting...


We did some stamp making (good tutorial here) and printing with this fantastic chalky white ink onto kraft paper...


to make some wrapping paper and gift tags for xmas (trying not to do everything at the last minute again this year)


And used some rainbow wool for finger pom pom practice. Always fun. I'm dreaming of using snowy white soft wool to make small perfect pom poms to adorn presents wrapped with the above.


And also I guess in the creative field, though not strictly craft, making some mango frozen yoghurt, using homemade vanilla yoghurt and following Fi's recipe.

Friday, November 12, 2010

this moment

I'm joining Soulemama (and many others) this week with the Friday ritual of 'this moment' - a moment from the week to pause, savour and remember. Happy weekend to you.


Thursday, November 11, 2010

My Creative Space


I thought I'd play along with Kootoyou's Thursday 'My Creative Space' this week. In my space (along with many unfinished projects :-( - is a popover dress for my big girl.

I'm using some lightweight denim bought 2nd hand at the school fete for the dress, and for the trim and straps this lovely "Dance with me" fabric by Jennifer Paganelli. It was given to me by my sister-in-law's mother, a lovely crafty lady (I wonder, is there a name for your relationship to your husband's brother's wife's mother? - hmm)


Finishing it off with some blue ric-rac, it would be all done now if it wasn't for my fiddling (it's a super easy, quick and FREE downloadable pattern from Oliver & S). I decided to add some little pockets to the front, just in case my girl thought the denim wasn't 'pretty enough'. And just because I wanted to try them, working from this tutorial from Made-by-Rae.


The pockets are a little small which I know would bug me, so I'm going to make some bigger ones... hopefully finished soon!

Wednesday, November 10, 2010

More new shoes for the boy


You know how kids lose shoes... all the time! Well we lost one of the little leather soled shoes I made recently and so I made another pair on the weekend.


I used the repurposed leather from an old op-shop skirt again for the sole, lined them in beige linen, put some felt lining for cushioning between the outer and inner soles, and got to use some of this fantastic Echino japanese linen/cotton for the uppers.


They are a bit hard to get on his feet at first, as all the fabrics are woven so there's no real stretch, but otherwise they're going well. I can't wait to use the Echino fabric again maybe as trim for a pair of shorts for summer.


- - - - -

I'm so pleased to see that Dana from Made is going to again be running "Celebrate the boy". I'll definitely want to join in to give me the incentive to make some clothes for my boy. I'm relieved it doesn't start til February though - after the silly season and hopefully a little rest in January.

- - - - -

On that note about trying to get too much done, I have shelved plans to make the fabulous Heidi & Finn hoodie that I'd had in my "next on my sewing machine" column over on the right. Though the weather has been cool lately I hear some warmer weather is coming and I don't want to make something the boy will grow out of before next autumn... so it's on to a dress for the big girl (hopefully ;-)

Tuesday, November 9, 2010

Egg-free pancake teddy faces


When we first found out our big girl had an egg and nut allergy I scoured cookbooks and websites for some basic recipes for cakes, biscuits, muffins etc without eggs. In the process I came across a pancake mixture that we've been cooking since, based on this one.

Then whilst on our holiday in Fiji I noticed that the resort breakfast buffet chefs made pancakes in the shape of teddy bear faces. I felt sorry for my big girl that she couldn't have them so when we came home I tried making them and they were a hit. On mornings when the kids are not interested in eating much or are tired of the usual breakfast foods these are a welcome change. I usually cook some small circles out of the batter after the faces are made and send some with the big girl's school lunch and take some to the park as snacks for the littlies, as they're great snacks.


The absence of eggs does make for a different pancake texture and I don't think they'd work well as large pancakes or crepes, but in small plate or pikelet size they're good.

Egg-free pancakes

1 cup self raising flour
1/2 teaspoon bi-carb soda
1/4 teaspoon salt
1 tablespoon sugar
1 cup milk
1 1/2 tablespoons vegetable oil
1/2 teaspoon vanilla essence

Sift flour, bi-carb soda and salt. Add sugar and whisk together.

Add vanilla and oil and half the milk. Whisk together, then gradually add the rest of the milk until thick pouring consistency. I find a whisk much better than a wooden spoon for the whole recipe even though it gets a bit stiff to whisk as lumps are less likely to form.

Heat frying pan to about medium heat and grease with vegetable oil spray. Pour in enough for the 'head' (I do about 12cm width) and then add the 'ears' with a tablespoon of batter added to each side of the head. Cook until the edges look dry and bubbles start to form on the surface then flip over, cook a few minutes and take out. Spray the pan before each pancake – they do stick otherwise.


Then decorate with jam, fruit or whatever you and your kids like.

Makes roughly 6 bears.

Monday, November 8, 2010

Neeext...

The school fete that I have been sewing for was on the weekend, and I must say I'm glad to be finished with that project and on to others! It rained heavily on the day, which was a shame, but hopefully they still raised a good amount of money overall.


I packed up my contributions to the craft stall on Friday to give to the coordinator. I ended up with a couple of teddy bears, some baby slippers, a few headbands in school uniform fabric, some adult wrist cuffs and some kids wrist cuffs. I forgot to photograph everything but kept aside the kids cuffs pictured above and below. My big girl had been asking me to make her one after seeing mine, so I made her one in a bright cotton print and added embellishments in ribbon and felt, backed it in a re-purposed pink velour (from an old skirt of mine) and put a velcro closing on for ease of use by little fingers.

She very sweetly took it to 'show and tell' at school last week which resulted in her classmates wanting one. My little marketing manager in training! So at least I knew the kids cuffs would be popular.


So... on to other projects now. My head is extremely scrambled with all I would like to do and make between now and Christmas, as happens every year. I think some serious list making is in order, then a talk with myself about expectations and what is possible!!

Hope you had a great weekend and your list is not too full :-)

Thursday, November 4, 2010

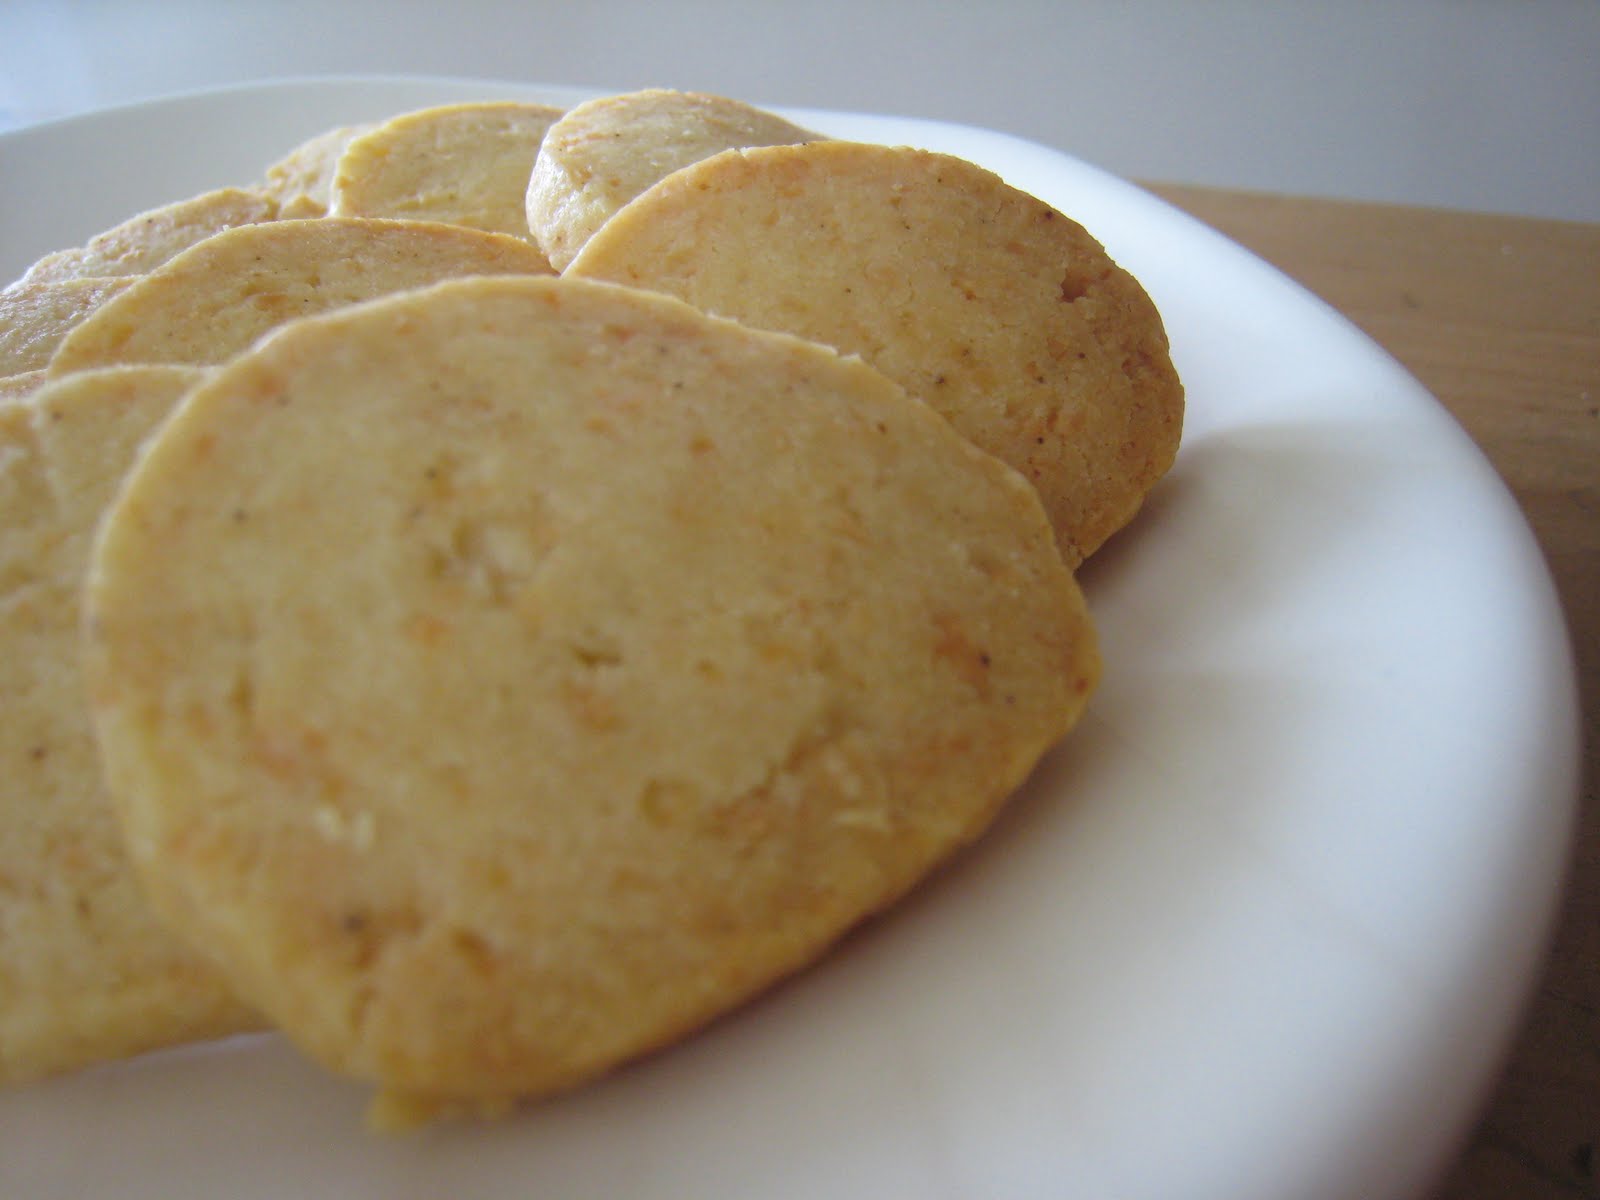
Cheese biscuits


I get quite obsessed with cheese biscuits and finding just the right recipe. This is my latest attempt and I'm pretty happy with them. They are very buttery of course, but not greasy like others I've tried.


And I love that the dough is one of those that you can freeze then use at a later stage, like when you have guests coming and don't have time to cook, or have something more important to do - like sewing!


They're great on their own or with cheese. Cheese, cheese and more cheese. I don't see a problem, do you? :-)

Cheese biscuits

1 cup plain flour
2 tablespoons cornflour
1 cup parmesan cheese, finely grated
1 teaspoon salt
1/4 teaspoon paprika (sweet, not the hot variety - don't want to scare off the kidlets)
125 grams butter, chilled
1 tablespoon lemon juice

Pre-heat oven to 180C.

Put flours, cheese, salt and paprika into food processor. Chop butter into big chunks and add to the food processor while it's going. Process until the mixture becomes crumbly. Add lemon juice and the mixture should form a ball in the processor. Stop the processor once this has happened.

Take the dough out and lightly knead it, then roll into a log. This should make two logs, about 20cm in length each.

Wrap the logs with plastic wrap and chill. Once the log is solid, cut up into slices about 3mm thick. Logs can be frozen for a long time, if you don't want to cook the whole lot. Just let the log thaw out a bit then slice them and bake.

Place on a baking tray lined with baking paper and bake for 15 to 20 mins or until light golden brown.
Related Posts with Thumbnails