Showing posts with label bread of the week. Show all posts

Thursday, October 21, 2010

Bread of the week - potato focaccia


I've loved potato pizza since the Mr and I visited Rome way back in about 1996. Eating a big slice of it (which was sold by weight, as the pizza bars there do) along with some marinated artichokes, standing on the street, is one of my strongest memories of Rome. All that history and culture and it's the food I remember the most!

Whenever we make pizza at home I make a potato one, sprinkled with fresh rosemary and salt flakes. This is a heartier version of that, as it has a much thicker base and more potato on top than I'd put on the pizza (the pizza gets too weighed down with too much topping).


I didn't photograph the process, but it's pretty simple:

Start by taking out about a third of your container of dough*. Using heavily floured hands, shape it and pull into about a 30cm diametre round, placing on your baking paper. It should be around 1cm thick. Let it sit until it comes back to room temperature. This is really important as you want it to have as much air and lift as possible, otherwise it will be heavy and doughy and just not great!

Meanwhile, slice 2 large potatoes (I used washed ones and didn't peel them) as thinly as possible so you end up with large thin rounds. Then either steam or microwave until just tender.


When the dough is back to room temperature drizzle it with extra virgin olive oil. Then add a layer of potato, sprinkle on some fresh rosemary and sea salt flakes. Add more layers until you have used up all of the potato. Finish with the rosemary and sea salt and another drizzle of olive oil.

Put into the oven on the top shelf on a pizza stone if you have one (see my transfer method in this post). Bake at 220c for around 20/30 minutes. Have a look at the edges of the dough and when it is nicely brown you'll know it's done. Leave to cool a bit then cut into squares. I served this with baked stuffed capsicums (peppers), and I think it would be nice with any sort of braise or stew. Enjoy!

* basic recipe listed on this post

Friday, September 3, 2010

Bread of the week - vegemite scrolls (with cheese)


I'm trying hard not to call these 'cheesymites' (Australians would know the name from the bakery 'Bakers Delight'), but that's really what they are... vegemite and cheese scrolls.

While I love our cinnamon scrolls for a sweet hit, these really are my favourite morning rolls. I'm a real savoury person in the morning and these hit the spot. They are especially good when you substitute 1 cup of plain flour for wholemeal in the basic recipe. It seems to add a bit more texture, and of course goodness.
I'd recommend baking a batch of these one weekend morning and having them for snacks through the day for hungry children (and grown-ups!). Of course they are great for school lunch boxes too.


Pull out a lump of dough from the fridge. I used about a third of the full container. Pull and stretch it (or you can use a rolling pin if you prefer) into a rough rectangle (I did about 30 x 20cm) and let it rest til it comes to room temperature or at least for a while. Set the oven to 220c with oven shelf at the top and pizza stone in if you have one.

Spread generously, or to your taste, with vegemite (or Promite, Marmite etc, any yeast spread). Sprinkle on about a cup of grated tasty cheese.

Start rolling it up from the long side, lifting as you roll so you don't squish all the filling out. When you get to the end pinch the long side shut and pinch the ends shut.

With the seam underneath, cut your roll into equal lengths (I did pieces of around 3 cm and ended up with 9). Dip your knife into flour each time you cut and use a confident, quick, light sawing motion as the dough is quite floppy.

I forgot to take a pic of this step (and the last - oops!), see this post for pics of similar.


Now lay them cut side up onto a piece of baking paper, close together but with a bit of room to spread. That way you'll get some with nice crisp outer edges and some soft squidgey ones from the centre.

Slide onto your pizza stone (or place your tray into the oven) and cook for about 10 minutes. You'll know they're ready when they are puffy and starting to brown around the edges. Don't worry if some are paler in colour than others. Leave til cool enough to handle then pull apart and enjoy!


Have a lovely weekend. I'm hoping to get lots of sewing done (hmm!), do you have any sewing or crafting plans?

PS I've added a 'search this blog' function over there on the right in case you or I want to look up an old recipe or post :-)

Saturday, August 28, 2010

Bread of the week - calzone


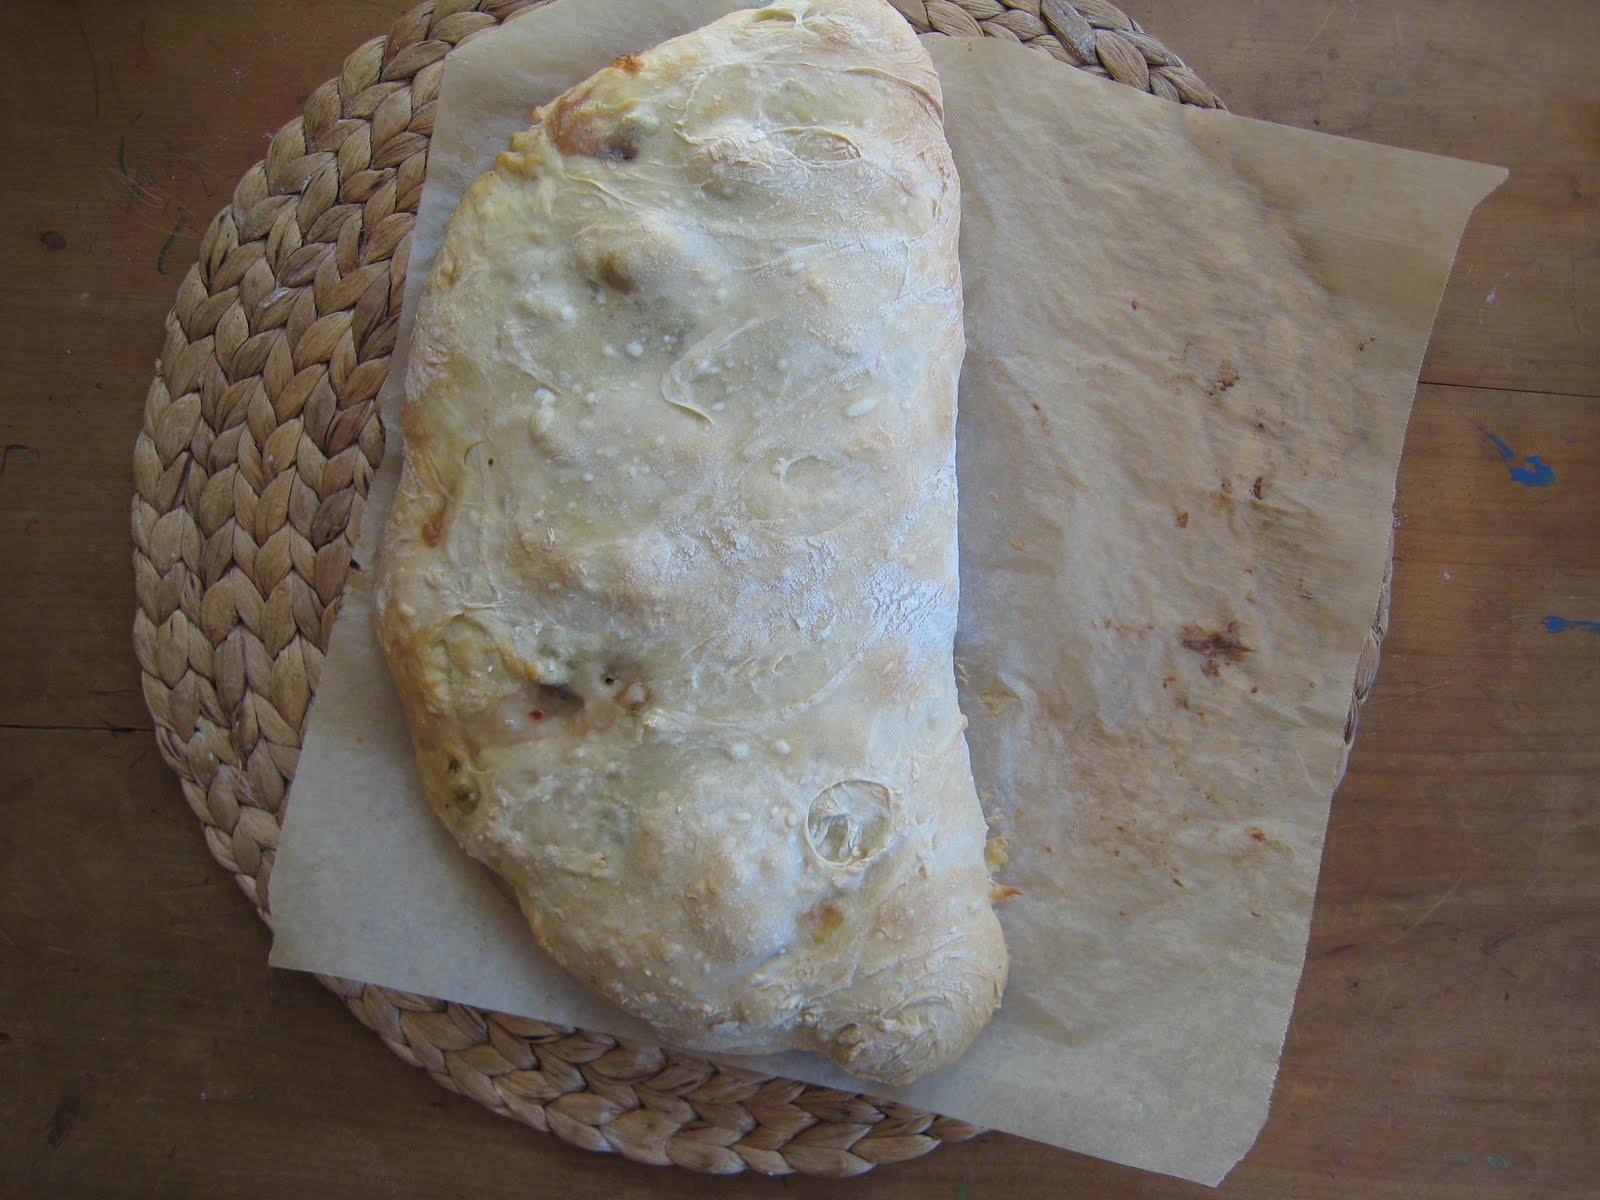
Calzone is a closed pizza. I made this large one for the family to share for lunch but you can also make smaller individual ones.

With floured hands, take a chuck of dough about the size of a grapefruit from your container*. On a piece of baking paper flatten it into a large circle that's about 1.5cms thick.

To one half add cheese and any filling of your choice. I used fresh tomatoes, semi-dried tomatoes, pickled eggplant, mushrooms, spanish onion and olives. If I'd had fresh basil I would have torn some up and strewn in on. And if the kidlets weren't going to be eating it I'd add lots of fresh chili. You can use anything you like though.

Fold the other side over and pinch the dough together to seal it into a parcel.

Put it into the 220c preheated oven on the top shelf on a pizza stone if you have one (see my transfer method in this post), or alternatively a baking tray. Cook until it's nice and brown. Mine took about 20 minutes - you want it to cook properly and as there is a bit of weight in all the dough and filling it takes a while.


When it cools a little cut it into thick slices and eat while warm. "It's like a Kinder Surprise" says my big girl about cutting it open to reveal the contents.

Can I also just point out my shiny new bread knife in the top picture. I've stumbled along for ages with an old crappy knife for cutting my precious loaves of bread and I can't believe the difference now that I have a good knife. It was a bit of a struggle getting it though, involving an extremely unhelpful sales "assistant" at David Jones (aren't they meant to be known for their service? Obviously not). Rather than answering my question on what makes a good knife and what the difference is between a $70 and a $200 knife, all she could muster up was an irritated "the chefs use them" over and over again. Obviously wasting her precious time, I chose the $70 model and let her get on with propping up the counter. Needless to say I hate bad service. OK, rant over. I urge you to go out and buy a fantastic bread knife if you don't have one. Trust me, it's worth the effort and expense.

* basic recipe listed on this post

Friday, August 20, 2010

Bread of the week - seeded rolls


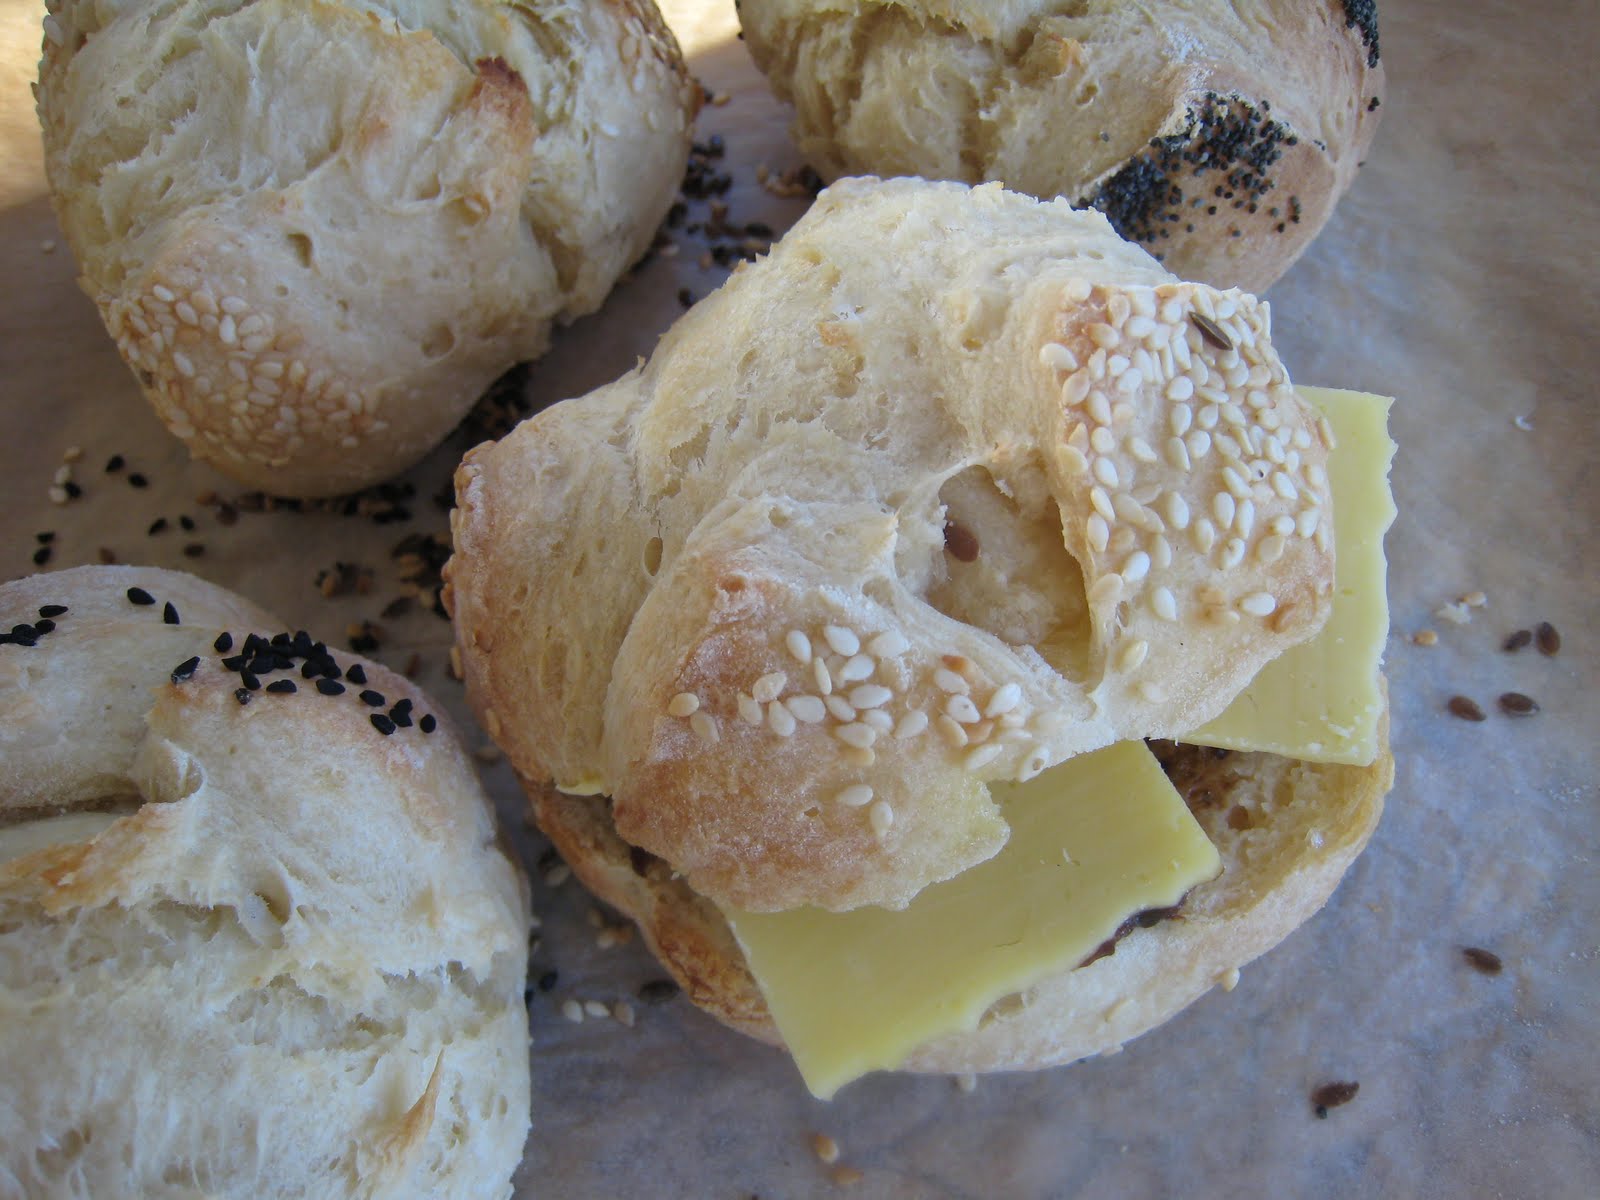
These are great when you realise yesterday's bread isn't fresh enough to send to school with poppet or you need something for lunch. I like to put different seeds on top including poppy seeds, linseeds, nigella seeds (to remind me of turkish pide) and of course sesame seeds.

Preheat your oven to 220c. With well floured hands, break off pieces of dough* about the size of a mandarin. Pull the sides of each piece of dough around to the back to form a smooth surface and flatten a little. Place onto baking paper or floured tray.


Wet the tops slightly with water and sprinkle with your choice of seeds (the water helps the seeds stick). Cut a deep cross into each piece of dough, which will allow it to rise. Let them rest either just while the oven heats or a bit longer if you have time.


Put into the oven on the top shelf on a pizza stone if you have one (see my transfer method in this post). Cook until they are nicely brown all over (10-15 minutes), the last thing you want is doughy centred little rocks :-). Let them cool to finish cooking before breaking open and filling or eat plain with a nice chunk of butter.

Have a lovely bready weekend!

* basic recipe listed on this post

Saturday, August 14, 2010

Bread of the week - garlic flatbread


This is really easy and a great one to cook when you need something quick to go with dinner. It goes well with soups, pastas, casseroles etc.


With floured hands, pull about an orange sized chunk of dough* out of your container. Stretch and pull it into a rough circle (about 30cm in diameter) and put it onto a piece of baking paper. If you like you can flatten it out a bit more with your fingers, but I like it to have thicker and thinner areas and even some holes. This means you get some plump springy bits and some thin crunchy bits for texture.

Next pour some olive oil over the dough (I use a tablespoon or two). I subscribe to the Jamie Oliver school of thought about sometimes needing to use your hands when cooking, and here I find smoothing the oil over the surface with my fingertips distributes it best. Then crush some garlic over - 1 or 2 cloves, depending on how strong you like it and sprinkle with salt flakes.

Even though the original Artisan Bread in 5 minutes a day recipe states that you should let the dough come to room temperature, I find that if I turn on the oven first, then take the dough out of the fridge and stretch it, it's had enough time to rest by the time the oven is up to temperature. You still get enough rise in the dough and it allows for last minute cooking, always a good thing!

Put it into the 220c preheated oven on the top shelf on a pizza stone if you have one (see my transfer method in this post), or alternatively a baking tray. Cook until it starts to go brown around the edges (5-10 minutes), but not til it's brown all over, which will be a bit dry and lifeless (she says from experience). You can see the nice variations in thickness in the pic above. It's a bit like a focaccia where you dimple the surface with your fingers so oil etc sits in the indents.


I like to cut it into squares with a pizza wheel. It's so quick and easy that you can cook a few if you need more for your meal.

* basic recipe listed on this post

Wednesday, August 4, 2010

Bread of the week - cinnamon scrolls


Following on from last week's bread post, here's the first 'bread of the week', cinnamon scrolls.

I like to make my big girl a snack to have after her early morning class at school on Wednesdays. I try to cook enough to send one to work with the Mr and keep some at home to take to the park with the littlies.

The basic bread recipe works well as scrolls and we've tried a few fillings, sweet and savoury, but I think this is one of the big girl's favourites. She requested it last night - well, she requested chocolate filling, but this was her second choice, we'll leave the chocolate ones for the weekend (a girl after my own heart :-)

OK, start off by pulling out a lump of dough from the fridge. I used about a third of the full container. Pull and stretch it (or you can use a rolling pin if you prefer) into a rough rectangle (I did about 30 x 20cm) and let it rest til it comes to room temperature or at least for a while. Set the oven to 220c with oven shelf at the top and pizza stone in if you have one. Spread on a mixture of softened butter (I used about 2 tablespoons), sugar (about 1 tablespoon) and cinnamon (however much you like).

Then sprinkle on some sultanas and some more cinnamon.

Start rolling it up from the long side, lifting as you roll so you don't squish all the filling out. When you get to the end pinch the long side shut and pinch the ends shut.

With the seam underneath, cut your roll into equal lengths (I did pieces of around 3 cm and ended up with 10). I like to use one of my trusty Victorinox serrated knives. My brother gave me a set a while ago and they are great - very sharp! Dip your knife into flour each time you cut and use a light sawing motion.

Now lay them cut side up onto a piece of baking paper, close together but with a bit of room to spread. That way you'll get some with nice crisp outer edges and some soft squidgey ones from the centre.

Then slide them into the oven. This can be a little tricky. I take them to the oven on a flat surface like a plate, chopping board or placemat, pull out the oven shelf a bit, then slide the paper over onto the pizza stone.

I didn't have a free hand to take a pic of me sliding it onto the stone (didn't want to bother him indoors to help me on a school morning!) but here it is on the pizza stone. Alternatively you could just put them on a baking tray, but if you have one I think the pizza stone works well and is worth the effort of the sliding.

Cook for about 10 minutes. You'll know they're ready when they are puffy and starting to brown around the edges. Don't worry if some are paler in colour than others. Admittedly they don't have the uniformity of store-bought scrolls but I like to think of these as having a kind of rustic beauty! Leave til cool enough to handle then pull apart and enjoy.


It's so nice to be photographing food in the daylight! That morning light is lovely, as opposed to the kitchen halogens that never give a great light.
Related Posts with Thumbnails