


Late last year I suddenly got the urge to play around with polymer clay to make a few necklaces, one for my niece, one for my neighbour and of course several for myself ;-)
I really liked how they turned out and found it was a fun and quick craft activity (with something wearable at the end - yay!), so I thought you might like to try it too. It's pretty simple but I thought a tutorial might be nice all the same, you might find my tips useful. Let me know if you try it. I hope you enjoy it!


- - - Polymer clay beaded necklace tutorial - - -

What you'll need
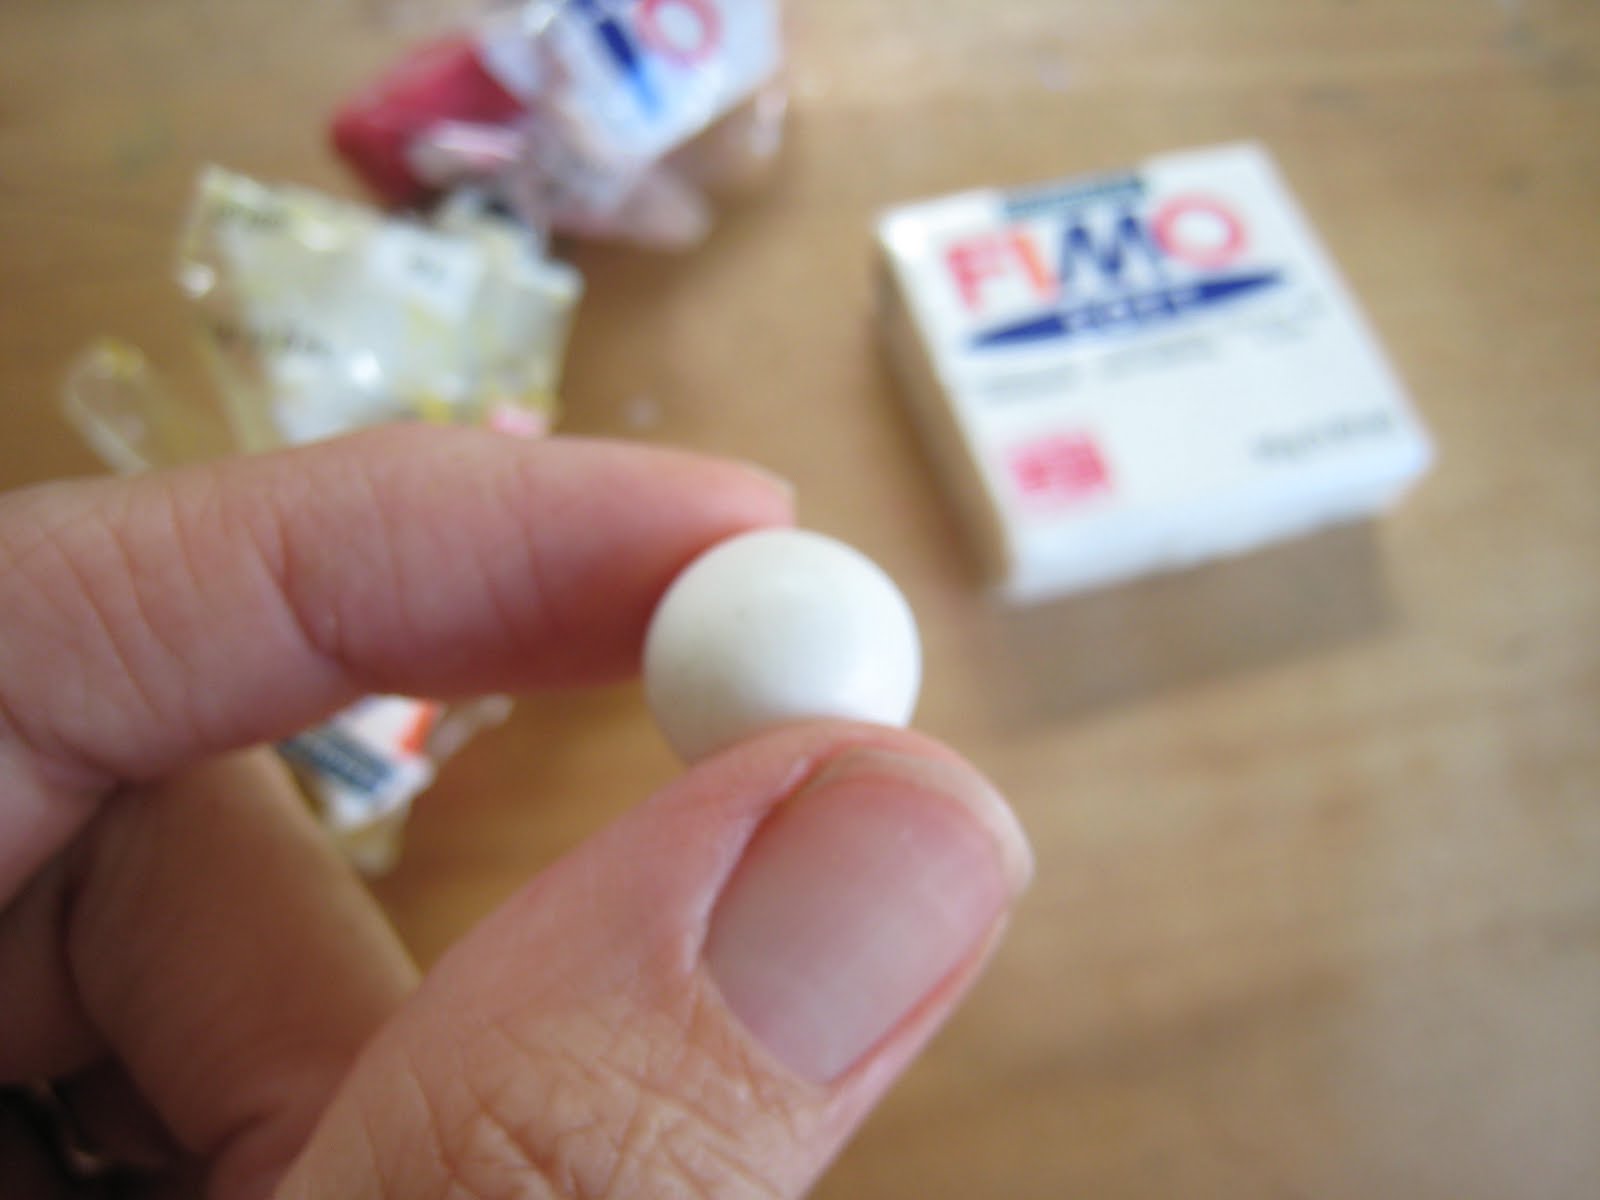
• Polymer clay in 2/3 different colors There are a few different brands of around. I chose Fimo because I'd heard about it but most importantly I liked the colors in the range. It can be bought at art and craft stores.
• Cording I use a lovely hemp string that I bought in a bead shop. It comes in a range of lovely neutral colours that won't compete for attention with your beads and has a lovely natural feel. Its comfortable to wear on your neck as long as there's not too much weight in the beads. You could also use cotton or leather cord, just remember to make sure it's not too thick.
• Large needle Something thick like an embroidery needle makes a good implement for putting a hole through the beads for threading. A thin skewer or even a toothpick would also work.
• Oven tray, baking paper and oven Polymer clay needs to be heated in a warm oven in order to harden it.
• Wooden button To use as decoration. I found mine a few years ago at a handmade market, but you may be able to buy them on Etsy. Otherwise a large beautiful vintage button would also work well. I think a button is a nice touch but you can leave it out if you prefer.
Making the beads

Cutting your clay
Cut or break off a piece of the clay. I found cutting a square about the height 2 ridges made a good sized bead.

Rolling a ball
Squash your chunk lightly into a rough ball shape then roll it lightly in your palms to create a ball. Try to do this without over handling the clay. I find that while the clay can be worked quite a lot, the more I play with and touch it the more dirt and grit it picks up, and that's not the look you want for your necklace - while charmingly wonky balls might be cute, dirt and dust are not so nice looking.


The finished hole should look neat at each end if possible. At this stage you'll need to think about how thick your string is. If your needle isn't thicker than your string (you don't want to end up with beads you can't thread) move your needle around inside the hole to widen the hole slightly. This sounds a bit clunky but it works really well.
* you can also make little discs if you like, as you can see on the pics of the finished necklace. Make a ball slightly smaller than the other/s then flatten it between your finger and thumb until it has a similar circumference to your ball. Make the hole in the same way, taking care not to squash the disc out of shape.


Tie a slip knot in the end of the string. This makes it easy to undo if you want to change the combination of beads at any time, though it does put a bit of stress on the string each time, so I try to not undo the knot too often. Better to just make a few more necklaces in different colors ;-)

You can wear your necklace with the wooden button next to the beads or alternatively at the back of your neck, letting the beads sit freely.
You're done! Enjoy wearing your new creation.
Rolling a ball
Squash your chunk lightly into a rough ball shape then roll it lightly in your palms to create a ball. Try to do this without over handling the clay. I find that while the clay can be worked quite a lot, the more I play with and touch it the more dirt and grit it picks up, and that's not the look you want for your necklace - while charmingly wonky balls might be cute, dirt and dust are not so nice looking.

Making a hole for the cording
Then take your needle and lightly push and twist it into the ball horizontally towards the other side. You're looking to create the hole without pushing the ball out of shape.

The finished hole should look neat at each end if possible. At this stage you'll need to think about how thick your string is. If your needle isn't thicker than your string (you don't want to end up with beads you can't thread) move your needle around inside the hole to widen the hole slightly. This sounds a bit clunky but it works really well.
* you can also make little discs if you like, as you can see on the pics of the finished necklace. Make a ball slightly smaller than the other/s then flatten it between your finger and thumb until it has a similar circumference to your ball. Make the hole in the same way, taking care not to squash the disc out of shape.

Bake the beads
Make the rest of your beads. I like to use about 5 - 10 for a nice balance and so that it hangs nicely. You can always make more than you think you'll need and try out different combinations once they've been baked.
Make the rest of your beads. I like to use about 5 - 10 for a nice balance and so that it hangs nicely. You can always make more than you think you'll need and try out different combinations once they've been baked.
When you have all of your beads ready, place them on a baking sheet lined with baking paper and bake them in the oven following the directions on the clay pack. Mine cooks at 110c (230f) for 30 minutes. Leave until completely cool. After they're baked the beads are quite durable and seem to be water proof.

Stringing
When your beads are cool cut a piece of your cording about 90cm (35") long and thread on your beads and wooden button.

Stringing
When your beads are cool cut a piece of your cording about 90cm (35") long and thread on your beads and wooden button.

Tie a slip knot in the end of the string. This makes it easy to undo if you want to change the combination of beads at any time, though it does put a bit of stress on the string each time, so I try to not undo the knot too often. Better to just make a few more necklaces in different colors ;-)

You can wear your necklace with the wooden button next to the beads or alternatively at the back of your neck, letting the beads sit freely.
You're done! Enjoy wearing your new creation.


Ahh thanks Jo. I've got some polymer clay stashed in the back of a cupboard left over from another project a few years ago (I made a clock for the girls bedroom!). This will be a great way to use it up :)
ReplyDeleteWow, a clock Fran! Sounds great. Yep, this is a great project for small bits. My girls love to make beads too, but I need to keep reminding them it's not playdough (ie: don't use it all up!)
Deletebeauties! thanks for the tuto.
ReplyDeleteHi Jo, I've been thinking about making one for a while but didn't know how. Thanks for your great tutorial! :-)
ReplyDeleteYou're welcome Belinda :-)
Deletei'm just making one myself tonight and remembered your tutorial! just wanted to add that if you wear latex gloves (those super thin ones that you buy in bulk at the supermarket), you get a super smooth finish with no finger prints on your beads. i saw a pic of emily green wearing them and stole the tip ; )
ReplyDeleteI made these with my daughters the other day, following your tutorial. They turned out perfect. We made quite a few and gave them away as presents. Thank you.
ReplyDeleteThis tutorial is just what I have been looking for. Less is more - meaning not the usuall rainbow colors- just classic.
ReplyDeleteHi, I am a new follower and would love for you to link this and as many as you can of your hand made items. I am having a new Creative Blog Hop Party up now and will run them Mondays and they of course will run for a week. Please check it out and I would love to have you over at dolly's designs...Dolly
ReplyDeleteLink:http://dollysdesigns.blogspot.com/2013/02/dollys-designs-creative-blog-hop-1.html